Autodeploy Jekyll using bitbucket post-commit service hooks and Flask
A very nice and clean way to deploy a Jekyll (or any other static generated site) is to setup a very small application on your sites webserver to listen for post commit hooks from Bitbucket. This allows you to have your site automatically updated and regenerated every time you push to your repository. This post shows you how.
2020 Update
This post is old. Nowadays there are a number of great CI solutions that you can hook Github, Bitbucket and Gitlab up to.
A very nice and clean way to deploy a Jekyll (or any other static site) is to setup a very small application on your site’s webserver to listen for post commit hooks from Bitbucket. This allows you to have your site automatically updated and regenerated every time you push to your repository.
Unfortunately it requires quite a bit of setup, so this blog posts shows you how to go about getting it working using a very simple Flask application.
The code for this blog post can be seen on my Github account →
An Overview
When everything is setup, the following will happen:
- We write a new blog post locally (or via the Bitbucket online file editor). We commit our changes and push them to our Bitbucket repo.
- Bitbucket sends a POST HTTP request (using basic authentication) to our webserver (
http://example.com/githook/for example) - A very simple Flask application on our webserver is listening on that predefined URL for incoming requests and notices Bitbuckets request.
- Our Flask application calls a bash script
- That bash script will pull the new changes from the Bitbucket repo to our webserver over SSH
- The bash script will then regenerate Jekyll’s static files from those changes
- Once everything is finished, we send an email to confirm that the changes have been succesfully pulled in.
What We Are Going To Use
- An existing Jekyll site. I’m going to assume you have an existing Jekyll site setup on your webserver (although this should work with any static-generated site)
- Python + pip. I’m going to assume that you have both of these already installed on your machine.
- Virtualenv/Virtualenvwrapper. This will manage our python environment. I will assume you are familiar with why we would want to use this and that they are both already installed . Otherwise, see this section of the docs for more information on the benefits of virtualenv
- Flask microframework. This is a fantastic little microframework written in Python that makes it very easy to setup a bloat-free web application. We will install this.
- NGINX. This is our webproxy. I won’t go through the setup of this and assume that it is already installed (or you are comfortable using something else)
- Gunicorn. This will act as our application server. We will install this.
- Supervisor. For starting and stopping our app. Again, I’m not going to go into why you might want to use this, it’s simply what I am using. I assume that you already have this installed
Step 1: Set Up Our Webserver
Our virtualenv path is assumed to be /srv, meaning our applications virtualenv folder will be /srv/bitbucket.githooks/...Before we go on, let’s look at our app’s layout:
.ssh/id_rsais our Bitbucket private keysrc/app.pyis our Flask application.src/auth.pyis a Flask plugin to allow basic authentication so people can’t troll us.bin/update_jekyll.shis the bash script that will do the actual pull and regeneration of our jekyll site when an authentic request comes in from Bitbucketetc/*are all configuration files to run our application
Now let’s create some log files:
Let’s configure nginx - etc/nginx.conf:
and symlink the configuration and restart the nginx process:
Now make sure our paths and ports are correct in our gunicorn configuration - etc/gunicorn.conf:
Now setup supervisor - etc/supervisor.conf - so that we can easily start and stop our application:
and also symlink and load the config (we won’t actually run it yet so it’s ok if supervisor gives out about there being an error - we need to configure the actual flask application first):
Step 2: Set Up Our Bitbucket Post-Commit Hook
We need to tell bitbucket that we want it to actually make a post-commit request to our webserver from bitbucket.org when our codebase changes. We do this through our repository settings.
Read detailed documentation on regarding this step on bitbucket.org
First go to your repo settings:
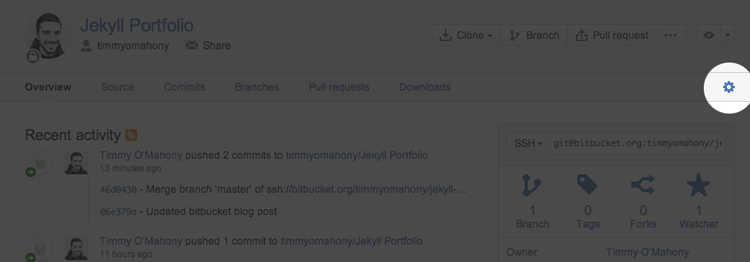
Click “Hooks” on the lefthand side. From the dropdown in the center of the screen select “POST” and click “Add Hook”. This will bring up a modal dialog.
We are going to use basic authentication, so add something like the following:
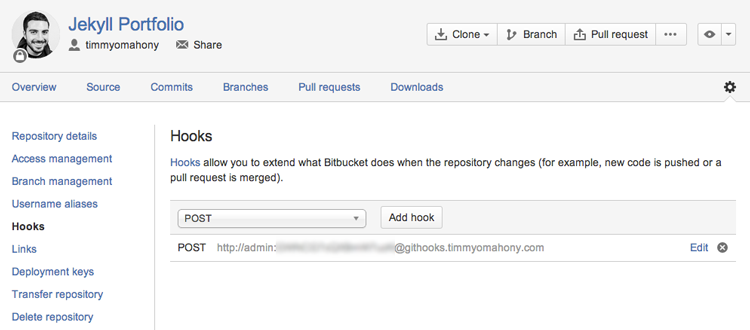
You’ll notice I have my hook setup on a subdomain of my site instead of a path.
Step 3: Set Up a Bitbucket SSH Keypair
When we receive a post-commit hook request from Bitbucket we will want to pull down the repo changes to our webserver. We can’t enter our username and password here so we will instead setup a private/public keypair that can authenticate us in absentia.
Warning: The following approach is using a keypair without a passphrase which means that anyone who gets a hold of the private key has access to your entire bitbucket account. This is less then ideal. A better approach is to use a keypair with a passphrase, but use ssh-agent to manage the passphrase so that it only has to be entered once
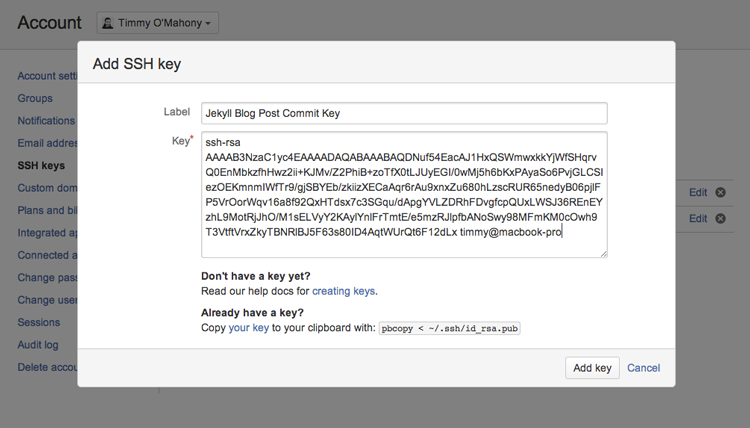
First create a keypair on your local development machine (this is not my actual keypair!):
When prompted, make sure not to enter any passphrase. This will create two keys: id_rsa (private key) and id_rsa.pub (public key).
Go to your account settings (not repo settings like in the last step) and add the public key (again, this is not my actual public key):
Now go to your webserver and paste the contents of your private key into .ssh/id_rsa. You should now be able to pull your repo over SSH.
Step 4: Set Up The Flask Application
First let’s have a look at our Flask application in src/app.py
This is a simple Flask app that has one URL/view which listens for incoming authenticated POST requests only (doesn’t reply to GETs) and runs our accomanying bash script. It then sends an email via Gmail to report whether or not the operation was succesful.
We need to make sure we have the following variables configured:
Note that we aren’t taking into consideration what sort of POST data Bitbucket is actually sending us. We could improve this script by reading the POST data and seeing if the commit that caused Bitbucket to contact our server was actually made to the master branch but for the moment we are just happy getting the request.
Also note that there is a @requires_auth decorator on our view to allow for basic authentication. This needs to also be configured.
Open src/auth.py
and make sure to change username foo and password baz to the values you used when setting up the POST commit hook on Bitbucket.org
Finally, lets have a look at the bash script - bin/update_jekyll.sh
This is a very primative script. It is being run as root and simply pulls our repo and builds our jekyll project. You can add more to this if needs be but as-is it covers the basics.
Step 5: Start Up The App
Now we have everything setup, we should be able to launch the app using supervisor
Every time you make a change to your codebase now, Bitbucket should contact your server and your server should automatically update!